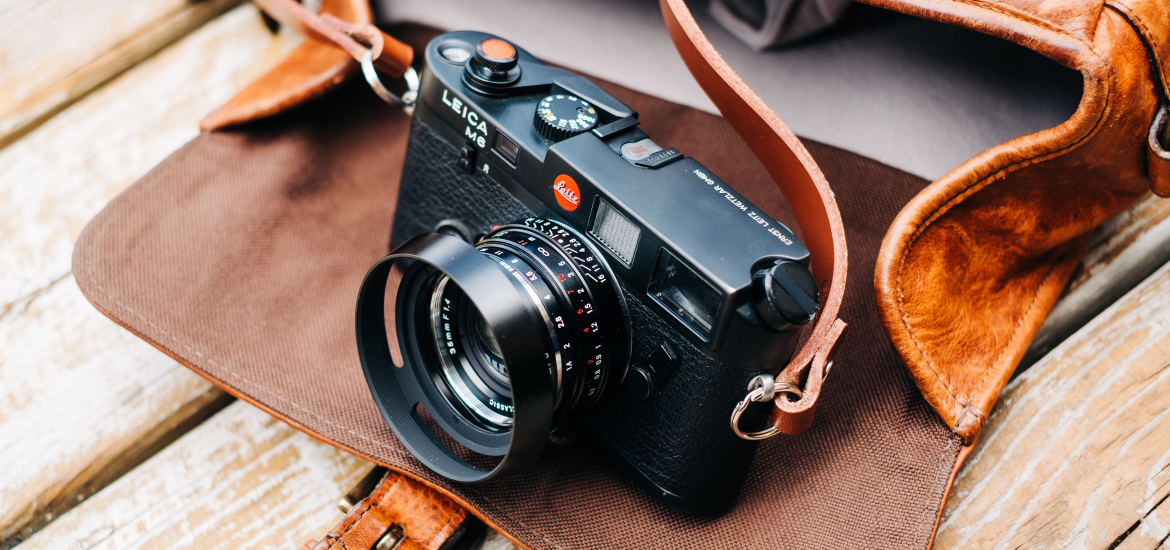
Alright peeps, I’ve had a number of camera bags along the way and honestly, most of them have been downright ugly. So my rec is to make the perfect DIY camera bag by using a padded camera bag inserts.
For some reason, most camera bags on the market are all just black, strappy, “technical” and super rugged. Why are there so few stylish camera bags?
Like, are all photographers planning on paratrooping into enemy territory before shooting some cats and sunsets?
Most of us, I think, just want an easy way to carry a camera safely and adapt to a variety of situations – a hike, a trip, a wedding, a photowalk, a kid’s birthday.
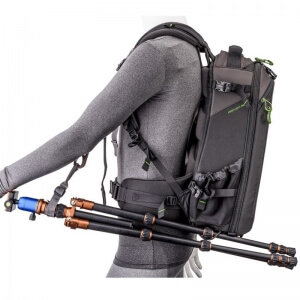
See? Nothing on my list requires looking like this guy right here:
The Perfect Camera Bag
Personally, I want a bag that blends in, looks good, fits my gear and is versatile when I travel. That’s a tall order I know, which is why I’ve found it hard to find the perfect travel camera bag.
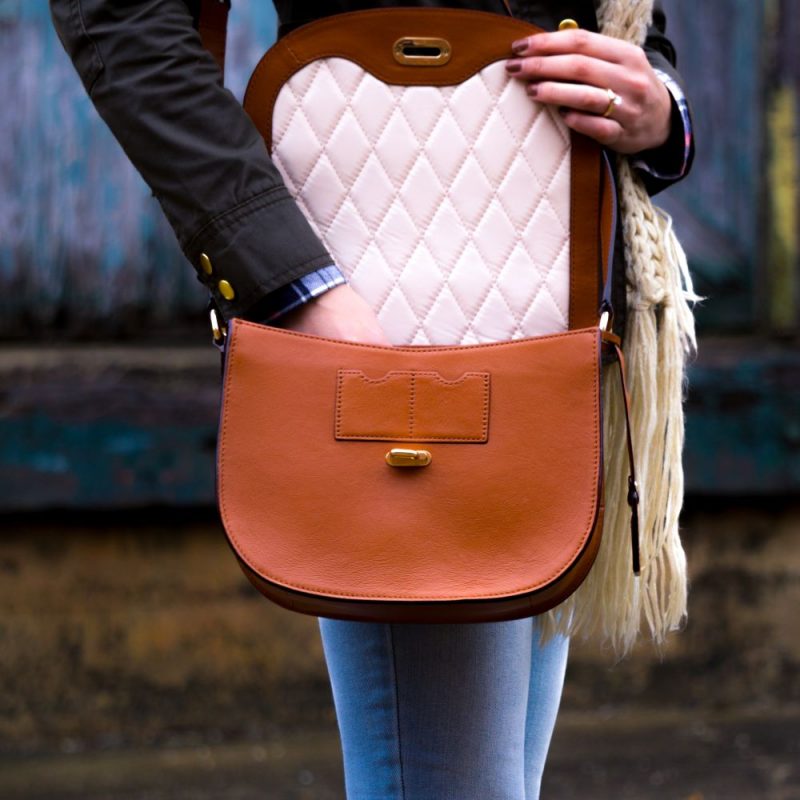
Photo by Lee Campbell
Under The Radar
When I say blends in, it has to look like something I would carry normally. Not only does this mean it would fit in to more situations, but it’s also key to keeping your gear safe. You don’t want a bag that screams, “Expensive camera gear here!”. Especially not when traveling like we are.
Attractiveness is very subjective, so I understand everyone has a completely different idea of what they’d like to carry.
As a female photographer, something that looks like a purse is ideal. Many guys prefer a messenger style camera bag to the usual backpack. But even within those categories, there’s a ton of potential options in terms of different materials, styles and colors.
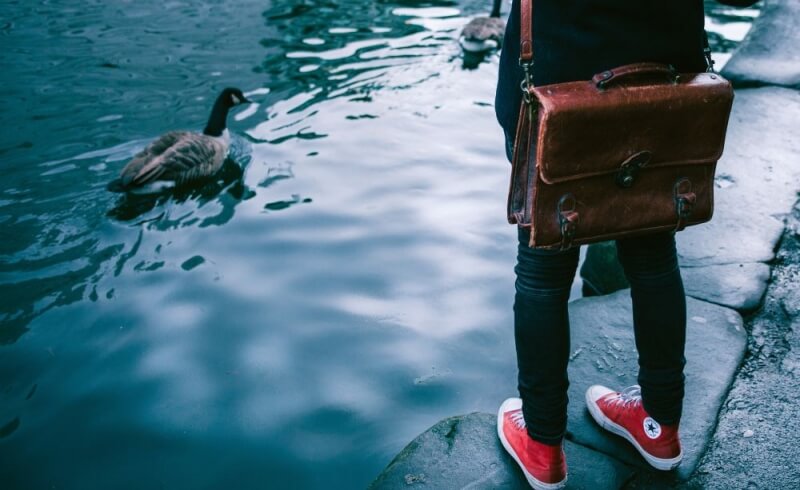
Photo by Clem Onojeghuo on Unsplash
So with all these options, you’d think camera bag makers should be awash with variety, right? Nope.
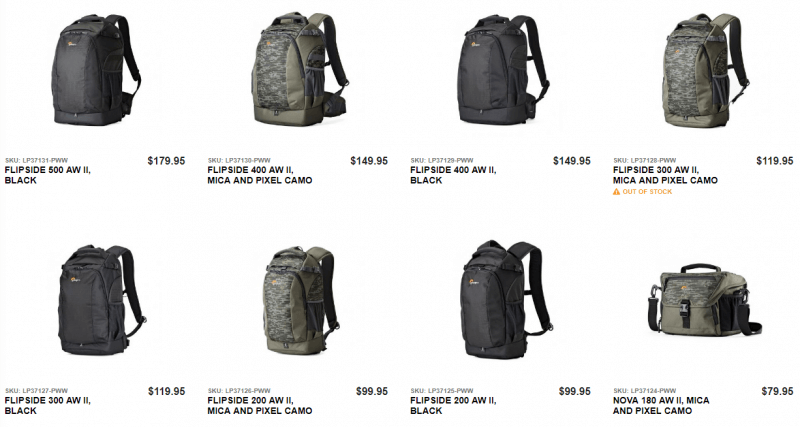
Traditional camera bag makers just seem to make the same black bag over and over again. And really haven’t addressed a female audience at all. Here’s a screenshot of Lowepro’s product page. Other than black, their color option is camo? See earlier comment about paratrooping into enemy territory.
The Right Fit
Getting a travel camera bag that’s the right fit for your gear is really important. And the scale of that has been changing rather rapidly in the last few years.
Remember a decade ago, in the oughts? There were basically two types of cameras.
Point and shoots, which ideally you could pocket and never need a bag, like the incredible Canon PowerShot G7 X Mark II .
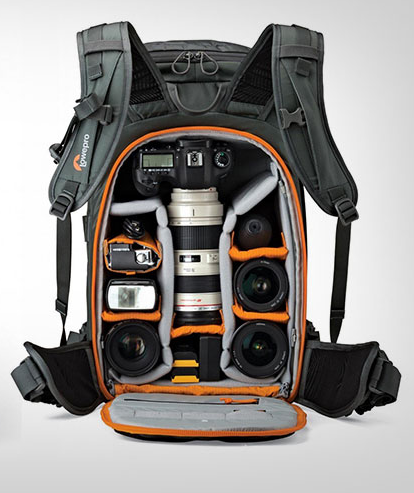
Or Digital SLRs, which probably triggered the purchase of your first camera bag. Those bags were big – sized by the number of lenses you wanted to carry on top of the DSLR. Here’s a classic example:
But now, whole new world! Heard of mirrorless cameras? Typically these are smaller than SLRs but still mostly not pocketable. In 2017, the number of mirrorless cameras sold grew to 129% compared to previous year, according to CIPA. Although still extremely popular, DSLRs dropped to 90% compared to the previous year.
Mirrorless is poised to take up an increasing share of the market for Interchangeable Lens Cameras or ILCs.
So now there’s tons of smaller cameras, there must be smaller bag options, right? No, of course not. The camera bag industry really hasn’t stepped up to fill this niche either. Not with bags that are actually smaller. If you look at “mirrorless” camera bags from the major sellers, they’re still pretty much the same size as before. This one from Lowepro is “designed for mirrorless” apparently!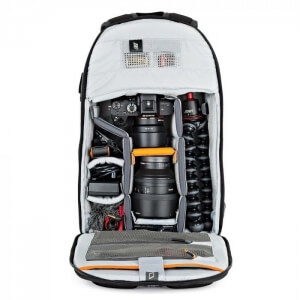
Because of course I always take 3 lenses, a tripod and my wall charger everytime I go for a photowalk.
How to Pack a Camera Bag
I don’t like to carry too much stuff, so if I’m going to take a backpack, I need to be able to use it as a laptop backpack, or a shopping bag, when I’m not using it as a camera bag. It can’t ONLY be a camera bag because that takes a lot of space.
I can’t have one of my precious carry-on allowance bags be taken up by a single use item!
So what’s a girl to do in this situation? Construct her own ideal bag so I can pack my camera bag safely in any bag I choose!
The DIY Camera Bag
So I know I said DIY but don’t worry, you don’t need to start with a leatherworking class. This is just what I like to call reconstructive DIY, taking available items and putting them together to make a custom solution. Some others might call it… cheating. You might even call it “One Weird Trick”.
Here are the steps to putting the perfect DIY camera bag together:
Step 1 Find the insert that works for you
So the one weird trick is the wonderful world of camera inserts! These are basically the padding and dividers that would go into a regular camera bag, except you can buy them separately. It means you can turn any bag into a camera bag.
First figure out how much gear you really want to carry on-the-go. Try to be minimalist here, don’t try to fit your charger and cleaning supplies or whatever. Focus on your “day bag” needs. Then buy an insert that fits that.
Tenba has these in a variety of sizes. There are also other cheaper brands but they are not always in stock on Amazon so I’m not linking them here. Some recommendations would be Apecase or Altura.
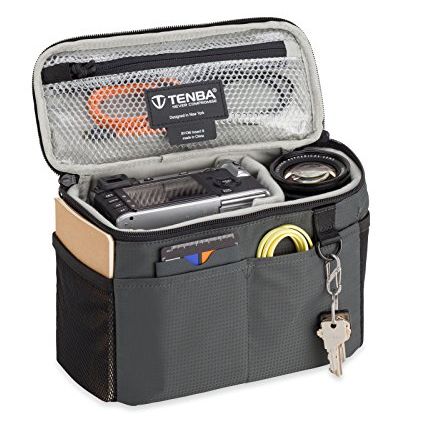
Tenba BYOB 9 Camera Insert
Buy Now
The reason I say not to get an insert that fits everything is because you want to keep your day bag minimal and focused.
This camera insert zips closed, which makes it a great camera bag insert for a backpack, where you might have more things in there. If using this camera bag insert for a purse, you can keep the zippered top folded open for easier access.
When you are traveling and packing all your gear for the flight, you can buy a second insert to have all your gear safely padded.
Step 2 Find the bag that works for you
Next, and this is the fun part! Take your insert and head to the store. Which store? Well, any store that sells the kinds of bags you like. Leather, fabric, vintage, designer, whatever floats your boat.
What you are looking for is a bag that fits the insert comfortably, makes the contents easily accessible but also has a way to zip up. I like this style of bag, simple, classic style, good enough for an event, good enough for the road.
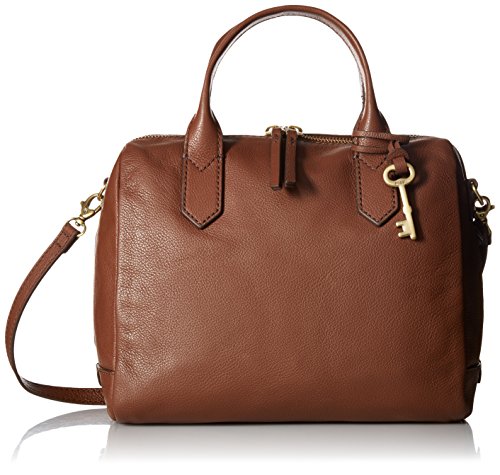
Fossil Fiona Satchel Handbag, Medium Brown
Buy Now
You gotta be careful to find one that doesn’t have separators in the middle. You want a big old cargo area in the middle to fit your insert, like this:
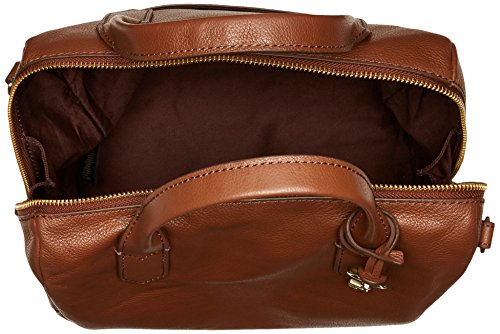
I personally don’t like the flip top bags because it’s easier to access a camera in a zippered bag. But hey if you want to go that way, do your thing! There are a variety of travel purses that could work. That’s the whole point of the DIY Travel Camera Bag – buy the bag that works for you!
Step 3 Accessorize!
Finally, you might want to accessorize. Most camera bags have a few pockets for your batteries and cards. You’ll need to add these to your DIY camera bag. If you got the Tenba BYOB 9 Camera Insert, it has loads of pockets. If you got an offbrand, you can try this wallet that is perfect for one battery and a few cards.
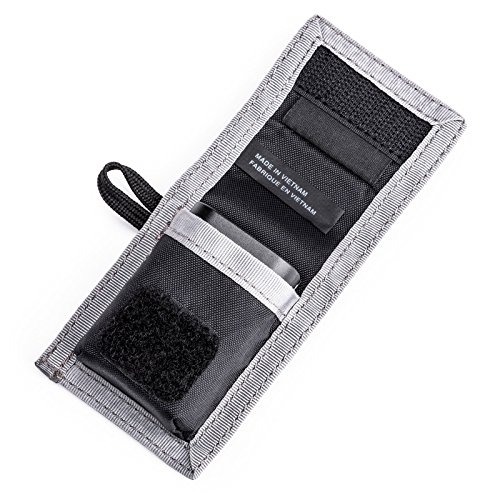
Think Tank Photo Card and Battery Wallet
Buy Now
Granted, neither of those are attractive, but at least they go in your bag, out of sight for the most part. On the other hand, a cute, cheap option is an a coin purse, put the batteries in the main compartment, and the cards in the 2 zippered pockets – empty and full.
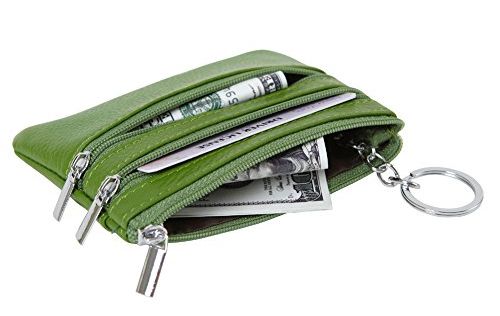
Women’s Genuine Leather Coin Purse
Buy Now
For a full list of great accessories for a smaller camera, check out my essential accessory kit for micro four thirds cameras.
One more tip, do you have a camera that charges through USB charging? I recommend this feature for travel cameras, it has saved me so many times, when I could plug my camera in the car or simply off an external battery.
If you did, you should also buy a good fast charging external battery to carry in your bag. Here’s one that should charge itself and your camera quicker than most.
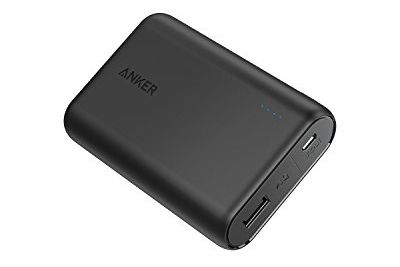
Anker PowerCore Fast-charging 10000mAh External Battery
Buy Now
Step 4 The Best Part
Okay, I know, you’re thinking, you just put together your dream travel camera bag and there’s still a best part?
Yup, you know it. So the best part is that you can use that insert in any bag. Normally the insert is in my purse. But I put my gear into the insert, into my roller suitcase when flying. And when I’m going on a hike, I put it in a backpack to make a perfect hiking camera bag. It’s great to be able to safely pack my camera in any bag I own.
Plus it allows you to select the best bags for other needs – like for example, the backpacks that are best fit for women.
In a sense, once you have the insert, you can have a diy camera purse, diy camera luggage and diy camera backpack whenever you need it. How’s that for versatile.
Once I switched to regular bags with camera inserts, I haven’t looked back.
Final Words
So I hope this has been helpful to you. A DIY camera bag means you can fit it into your life, which means you will take it more places, even when you aren’t traveling. I can’t count how many people I know buy a fancy camera and then never take it anywhere because yes, it’s a big, bulky thing, needing a separate bulky bag that is just one more thing to worry about.
By popping it into your purse or backpack, you’re more likely to have it on you when the moment presents itself and that’s kind of awesome.
This post has affiliate links. As an Amazon Associate I earn from qualifying purchases. The opinions presented are my own.