The Avalanche lake trail at Glacier National Park is a very popular trail with gorgeous views of a gushing gorge and a lake with waterfalls. It’s less than 5 miles in total, “door-to-door” from the parking lot.
I’m not a big hiker and had already had a couple of false starts on this trip to Glacier National Park.
When we tried to go to St. Mary’s Falls, we realized we followed the wrong map and ended up with a much longer hike than we had time for. We had to go back before getting to the falls, which was pretty disappointing.
So on this hike, I was determined to get to the lake no matter how long it took! And I’m glad I did, it was a beautiful, fairly easy hike with great photo opportunities. It would be great hike to do with kids.
Avalanche Lake Trail, Glacier National Park
You start this hike on the Trail of Cedars which is a super-easy “accessible” loop. About half a mile in, you detour to on the Avalanche Lake trail to the lake which is 2 miles out.
So in total, it adds up to about 5 miles. Enough to do in an afternoon, and still get some blood pumping.
Avalanche Gorge
There are two main exciting views on this hike. One is the gushing gorge which is very close to the start of the Avalanche Lake trail.
Since I was so determined to get to the lake, I decided not to dilly-dally at the gorge, although I made a mental note to come back to it.
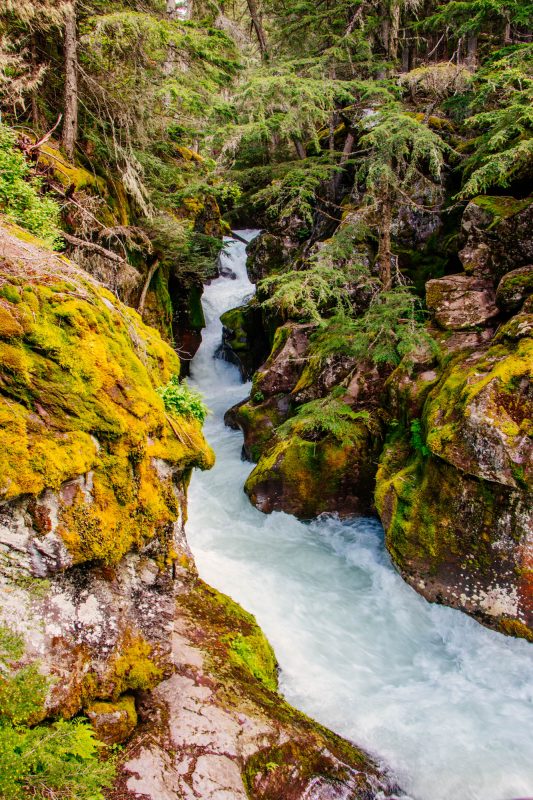
And I did. The gorge is surrounded by lush greenery that looks incredible against the shocking white of the water.
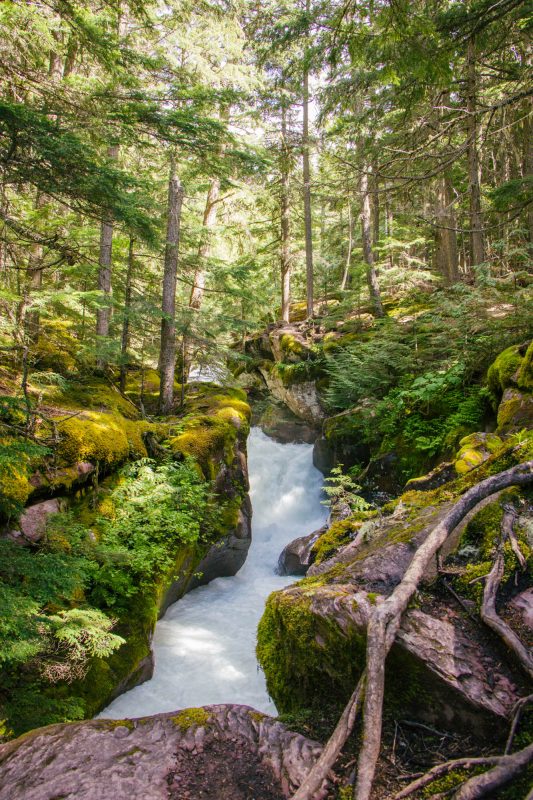
It amazed me how powerful the water is. I never see that in California, especially with the drought in the last decade, the best you see on most hikes is a babbling brook that dries out after spring.
And the plants around it practically glow with life. It almost feels a little magical and hobbit-like.
Avalanche Lake
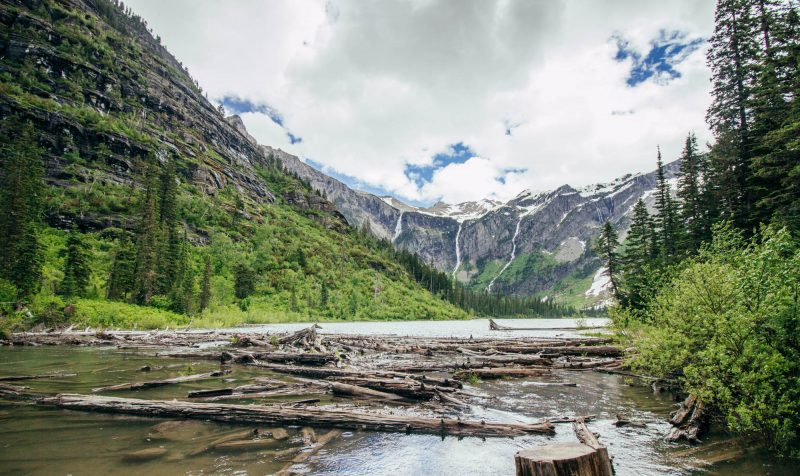
The second exciting view is the lake itself. Several waterfalls cascade into the lake which is clear with a hint of turquoise.
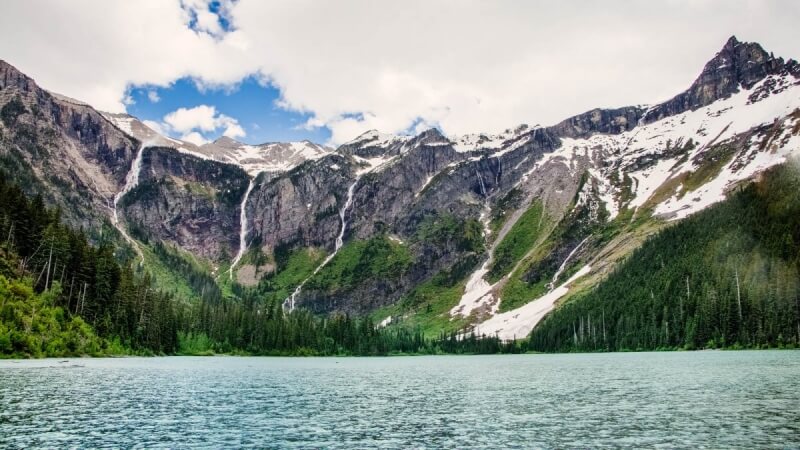
The rock face combined with the sky and the water makes for a lot of dynamic range to capture. What this means is, it’s quite hard to get the blue in the sky as well as the color in the rocks.
You will need to take advantage of HDR if you have it in-camera, or bracket the shot and take multiple exposures which you can then combine to increase the dynamic range.
To learn more about this technique, read this primer.
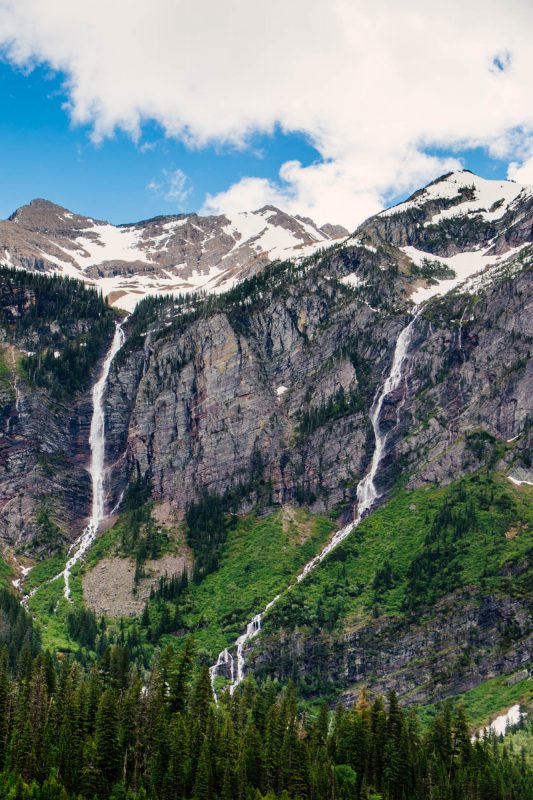
Here’s one final shot from another viewpoint.
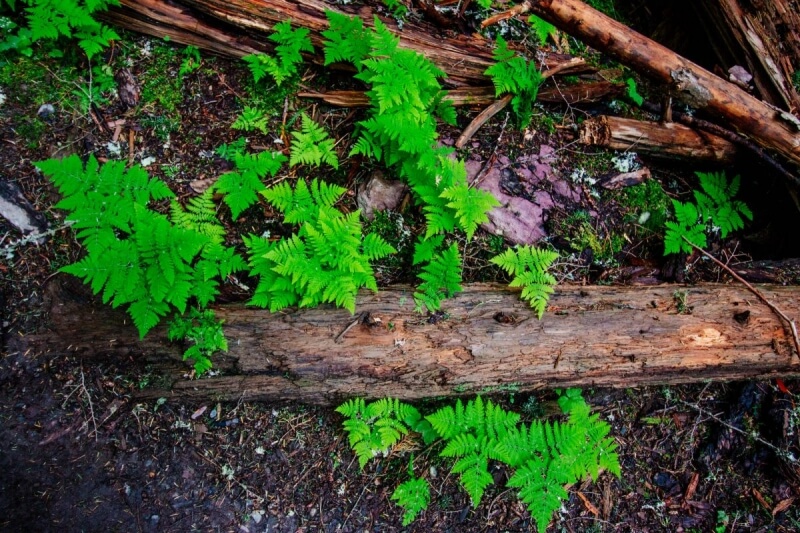
Still Life
Along the way, there are some details you can shoot as well – just beautiful forest scenes. So keep your eyes open, and look around you.
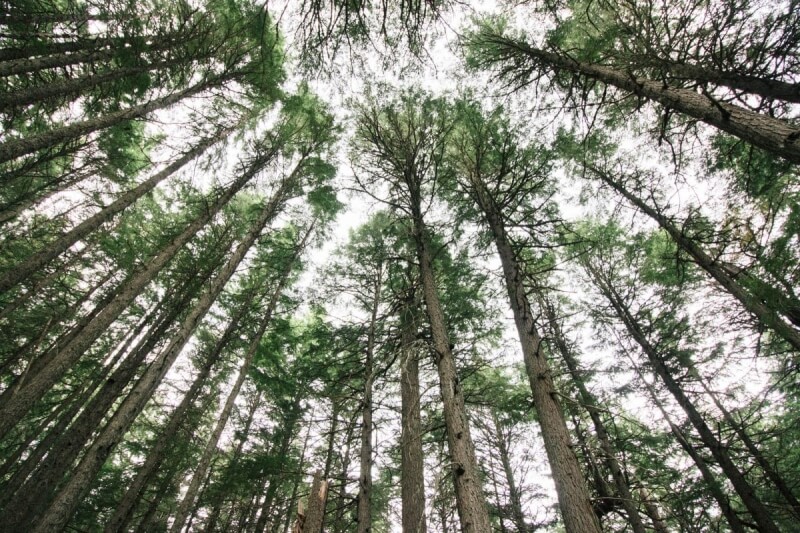
Remember to look up, remember to look behind you for more angles.
Safety First
We also saw a giant fresh bear poop, which was scary, but there were a lot of people on the trail so I figured we were safe.
Turns out, one week later they closed the trail because there were 6 reports of grizzly bears approaching hikers. SIX! Yikes!
I mean, we had bear spray, and I was talking loudly like a crazy person the whole time, but I’m super glad we didn’t bump into any grizzlies.
With grizzlies, you want to let them hear you before you get close so the recommendation is to talk loudly at all times, and to carry bear spray.
The sad thing is, the talking loudly also ensures you won’t see any deer or other less scary wildlife. At least if you’re doing it right.
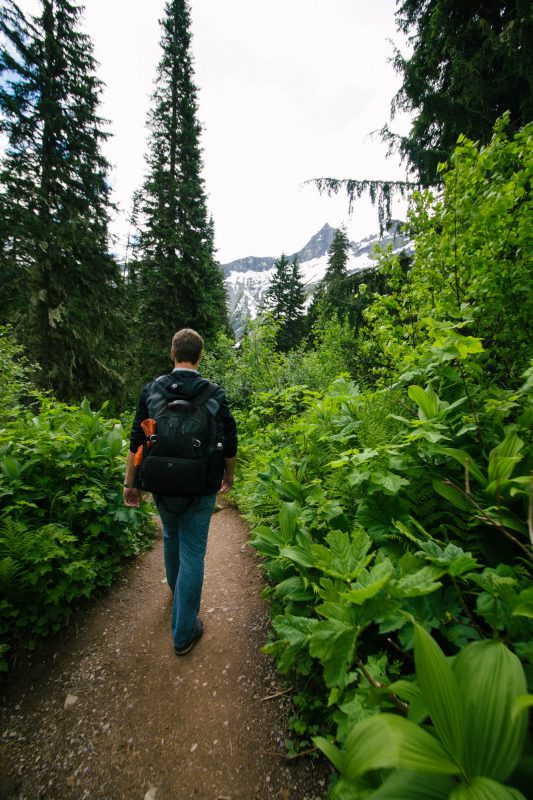
Another trick is to let your significant other walk ahead of you, so the bear can get them first.
Final Words
The Avalanche Lake trail is a fun hike that will get you some beautiful shots. I liked that it had views along the way as well as a stellar endpoint so it kept my interest the whole time.
Glacier National Park takes a bit of planning as it has two sides that are quite different – do your planning for GNP beforehand! And if you are on the West side of Glacier NP, you should definitely check this hike out.
Nitty Gritty
| What to Expect | A 5 mile trail door to door with beautiful views of a gorge, a lake and cascading waterfalls. The trail is easy-moderate - you'll feel like you got some exercise but there's no real tough spots. |
| Versatile Gear | Because of the need to capture the dark rocks and the bright sky, I venture to guess that a DSLR will perform better in these conditions. Especially if you bracket and create an HDR. So a wide lens would be great paired with your DSLR. For micro four thirds, check out this article on the best micro four thirds lenses for travel. For Fuji cameras, check out this article on the best fuji lenses for travel. For Canon, Canon EF-S 10-18mm f/4.5-5.6: For Nikon, the Sigma 10-20mm f/3.5: |
| Useful Accessories | A polarizer will bring out the most detail and color out of the grass and sky If you go at sunset, or any lower light time of day, I would also take a tripod. |


